
How to Buy and Set Up a SquareSpace Template (for beginners) with ADHD-Friendly Steps!
Just got a new Squarespace website template? Before you pop the champagne and launch your site, here’s a simple, clear checklist to help you launch smoothly — without the overwhelm.
Looking for the ADHD-friendly version? Scroll all the way to the bottom for quick steps.
01 Find & Purchase the Template Right for You
Start by choosing a template that matches your style, your industry, and how you want clients to feel when they land on your website.
If you're purchasing a template from The Venue Edit:
Head to the Template Shop
Preview live demos
Pick the one that feels like your brand
Checkout like normal
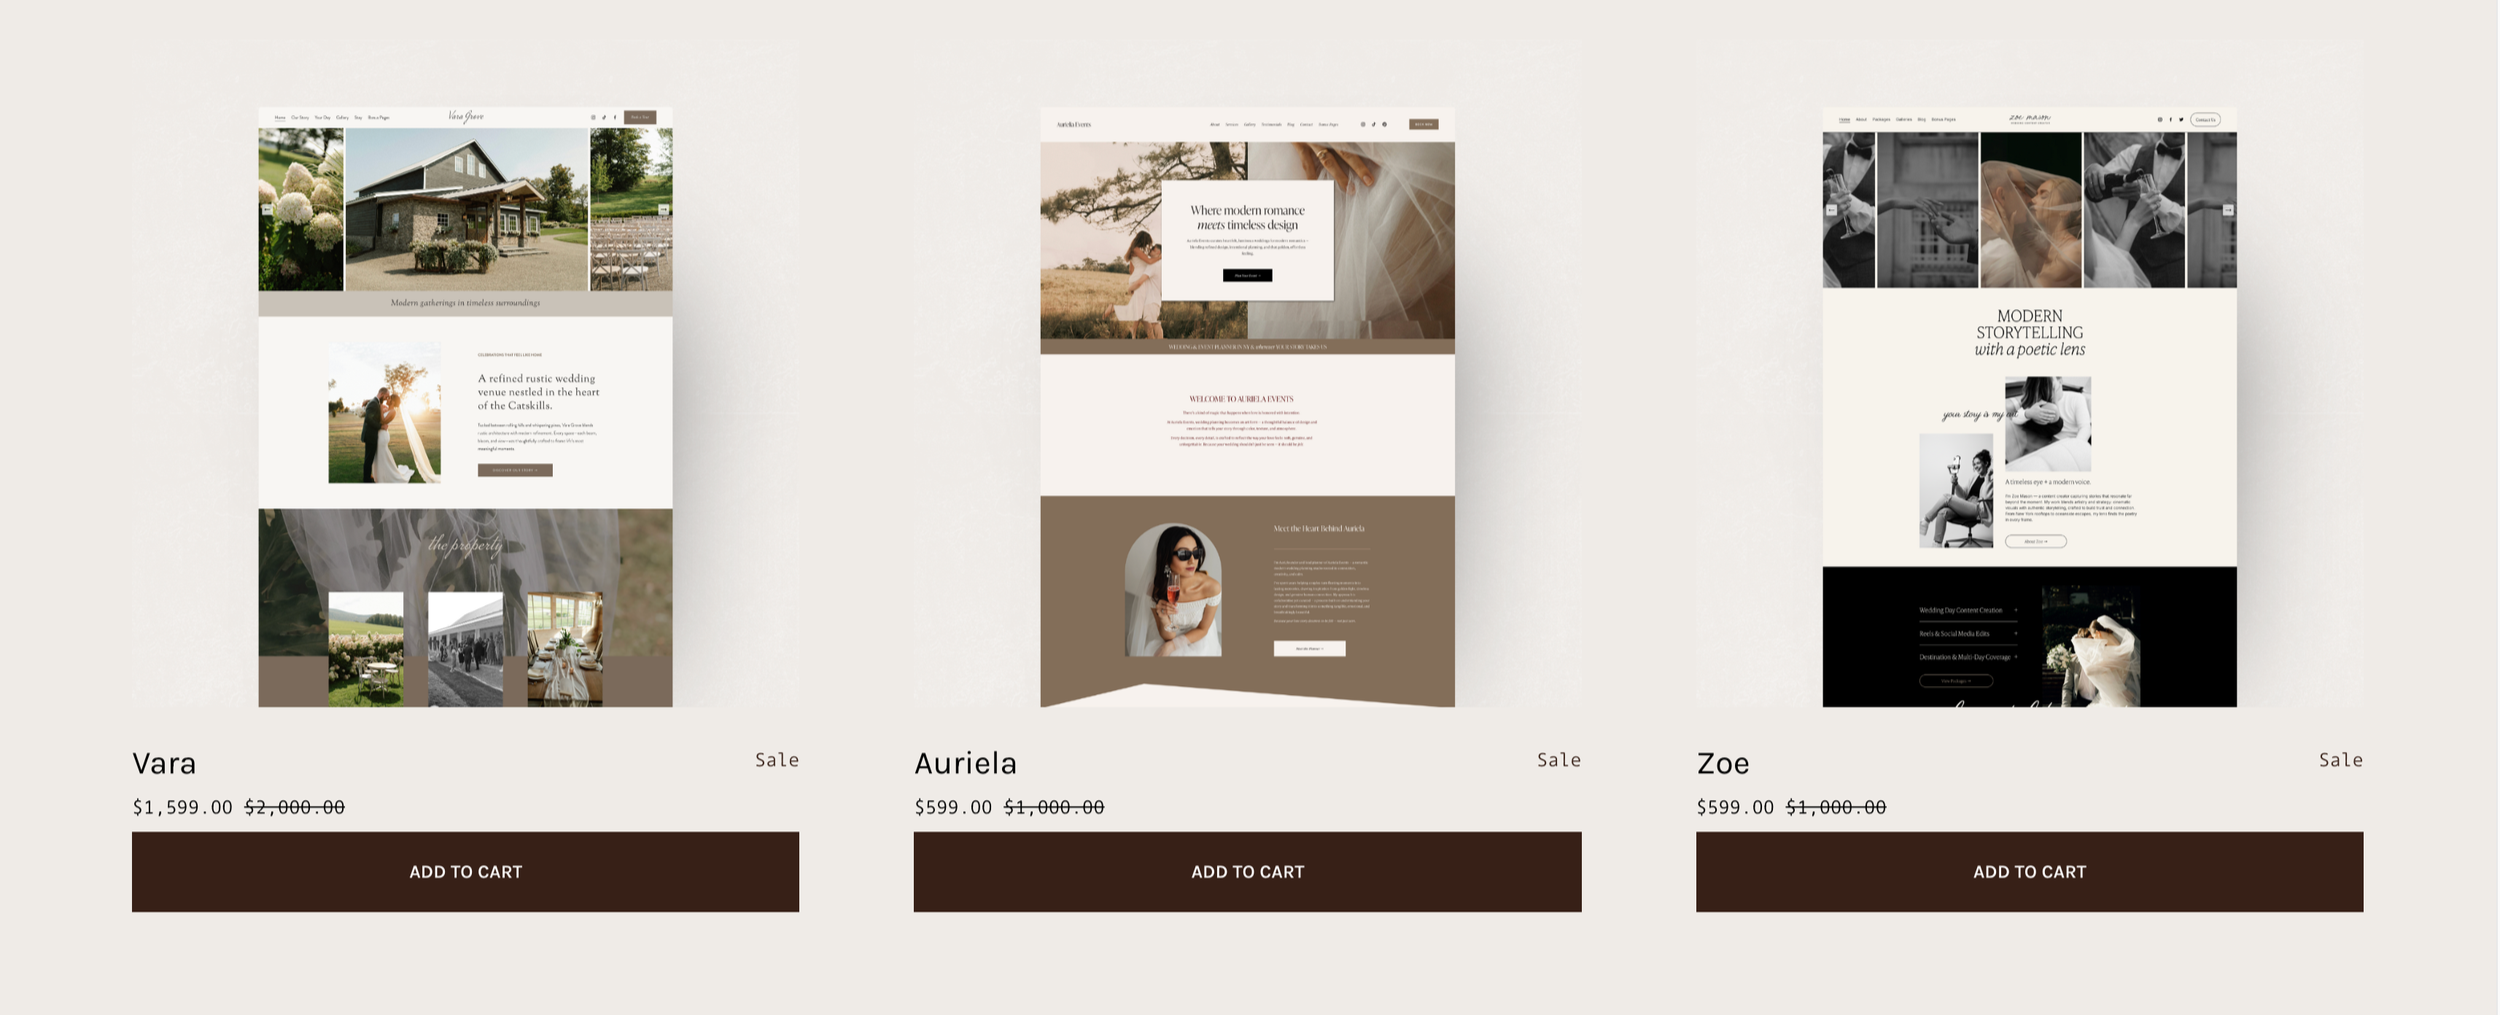
For a limited time only, The Venue Edit templates are on sale for all wedding + event pros!
02 Accept Your Template Transfer
Typically templates are transferred manually, so after purchase you’ll receive an email from SquareSpace inviting you to accept the site transfer.
Hit accept, and the template will appear in your dashboard under Websites.

Here’s an example of that email. After you accept, I will remove myself from the design and give you full ownership.
Note for The Venue Edit purchasers: Since templates are transferred manually, you will typically receive the invitation email link within 24 hours (Monday–Friday).
03 Upload Your Brand + Remove Demo Assets
Start with the basics:
Upload your logo
Add your brand colors to the color palette
Update fonts if you want
Then:
Remove any demo photos from the Site Assets folder in your Squarespace library. Before you add your own, ensure they are optimized for loading speed (larger files can slow down a site which will effect your visitor’s experience).
Don’t forget to upload your favicon (the little icon that shows in browser tabs) under Design → Browser Icon. It’s a tiny detail that makes your brand feel polished everywhere it shows up online.

The Auriela template has a versatile design compatible with all fonts & color palettes.
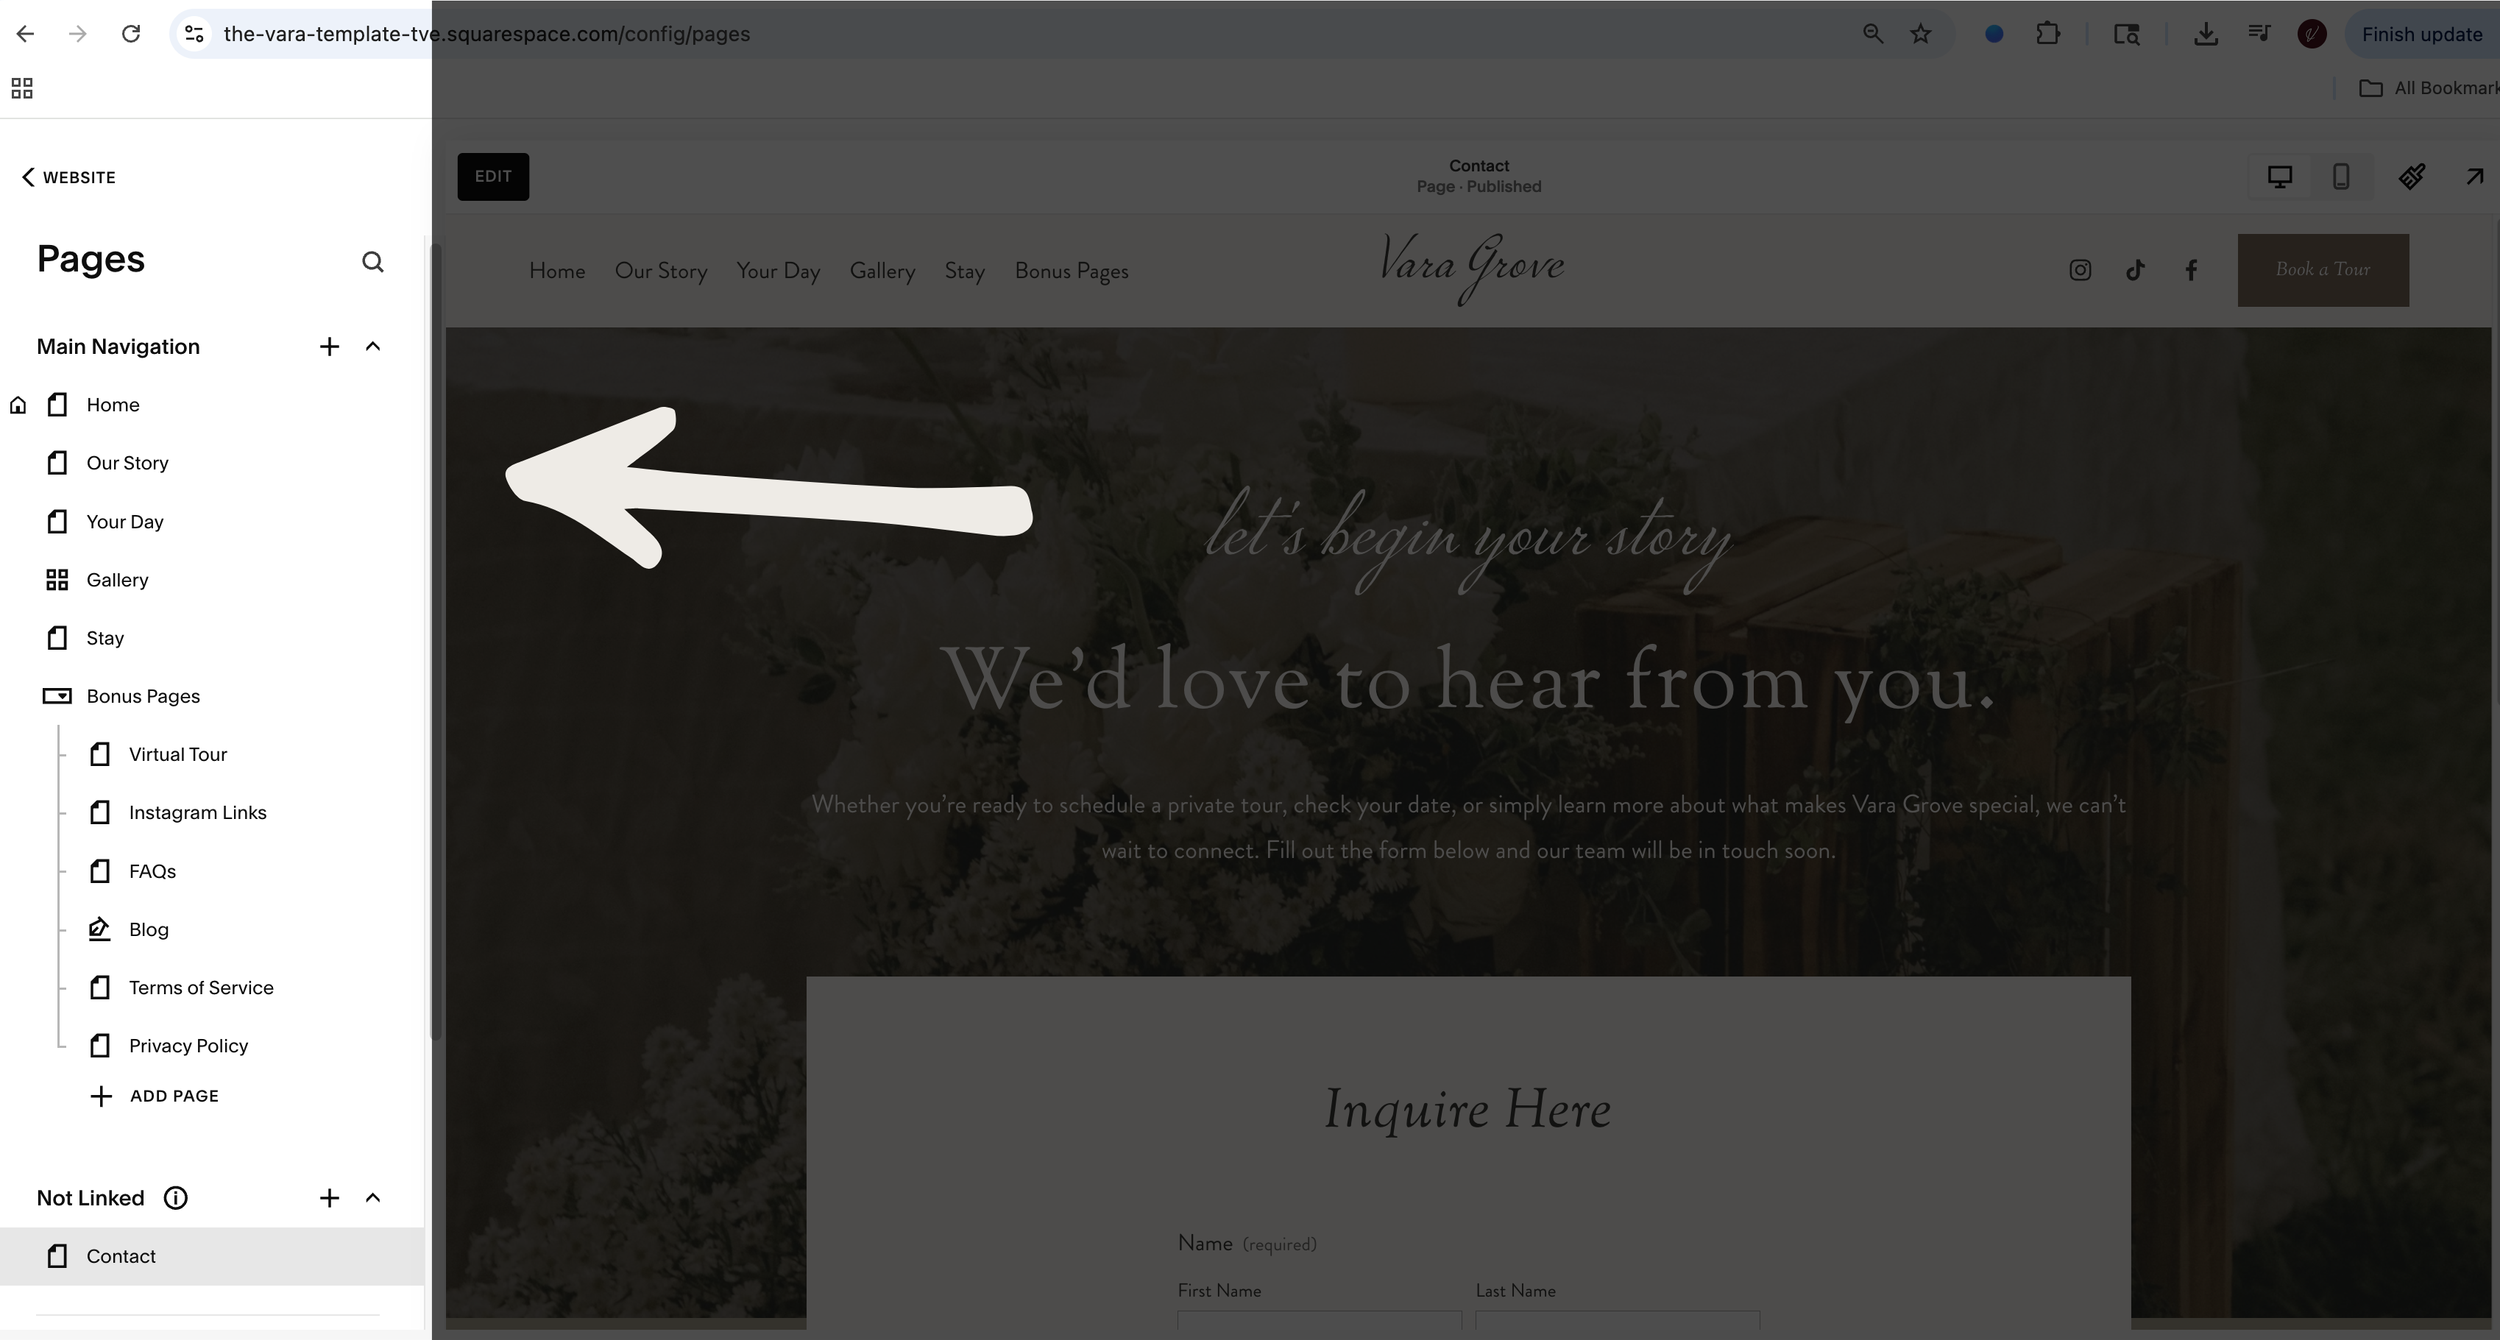
04 Clean Up Your Navigation
Decide which pages you want to keep, edit, or hide:
Drag pages you don’t need to Not Linked
To hide a page completely: click the gear icon → Enable Page (toggle off)
Rename pages using titles appropriate for your business
Clean navigation = a professional, easy-to-use website for clients.
05 Add Your Content
Before editing each page, organize what you need:
Your bio
Services + packages
Portfolio images
Testimonials
Contact info
Brand messaging
Then start replacing demo content section by section.
Don’t rush it — small changes add up quickly.
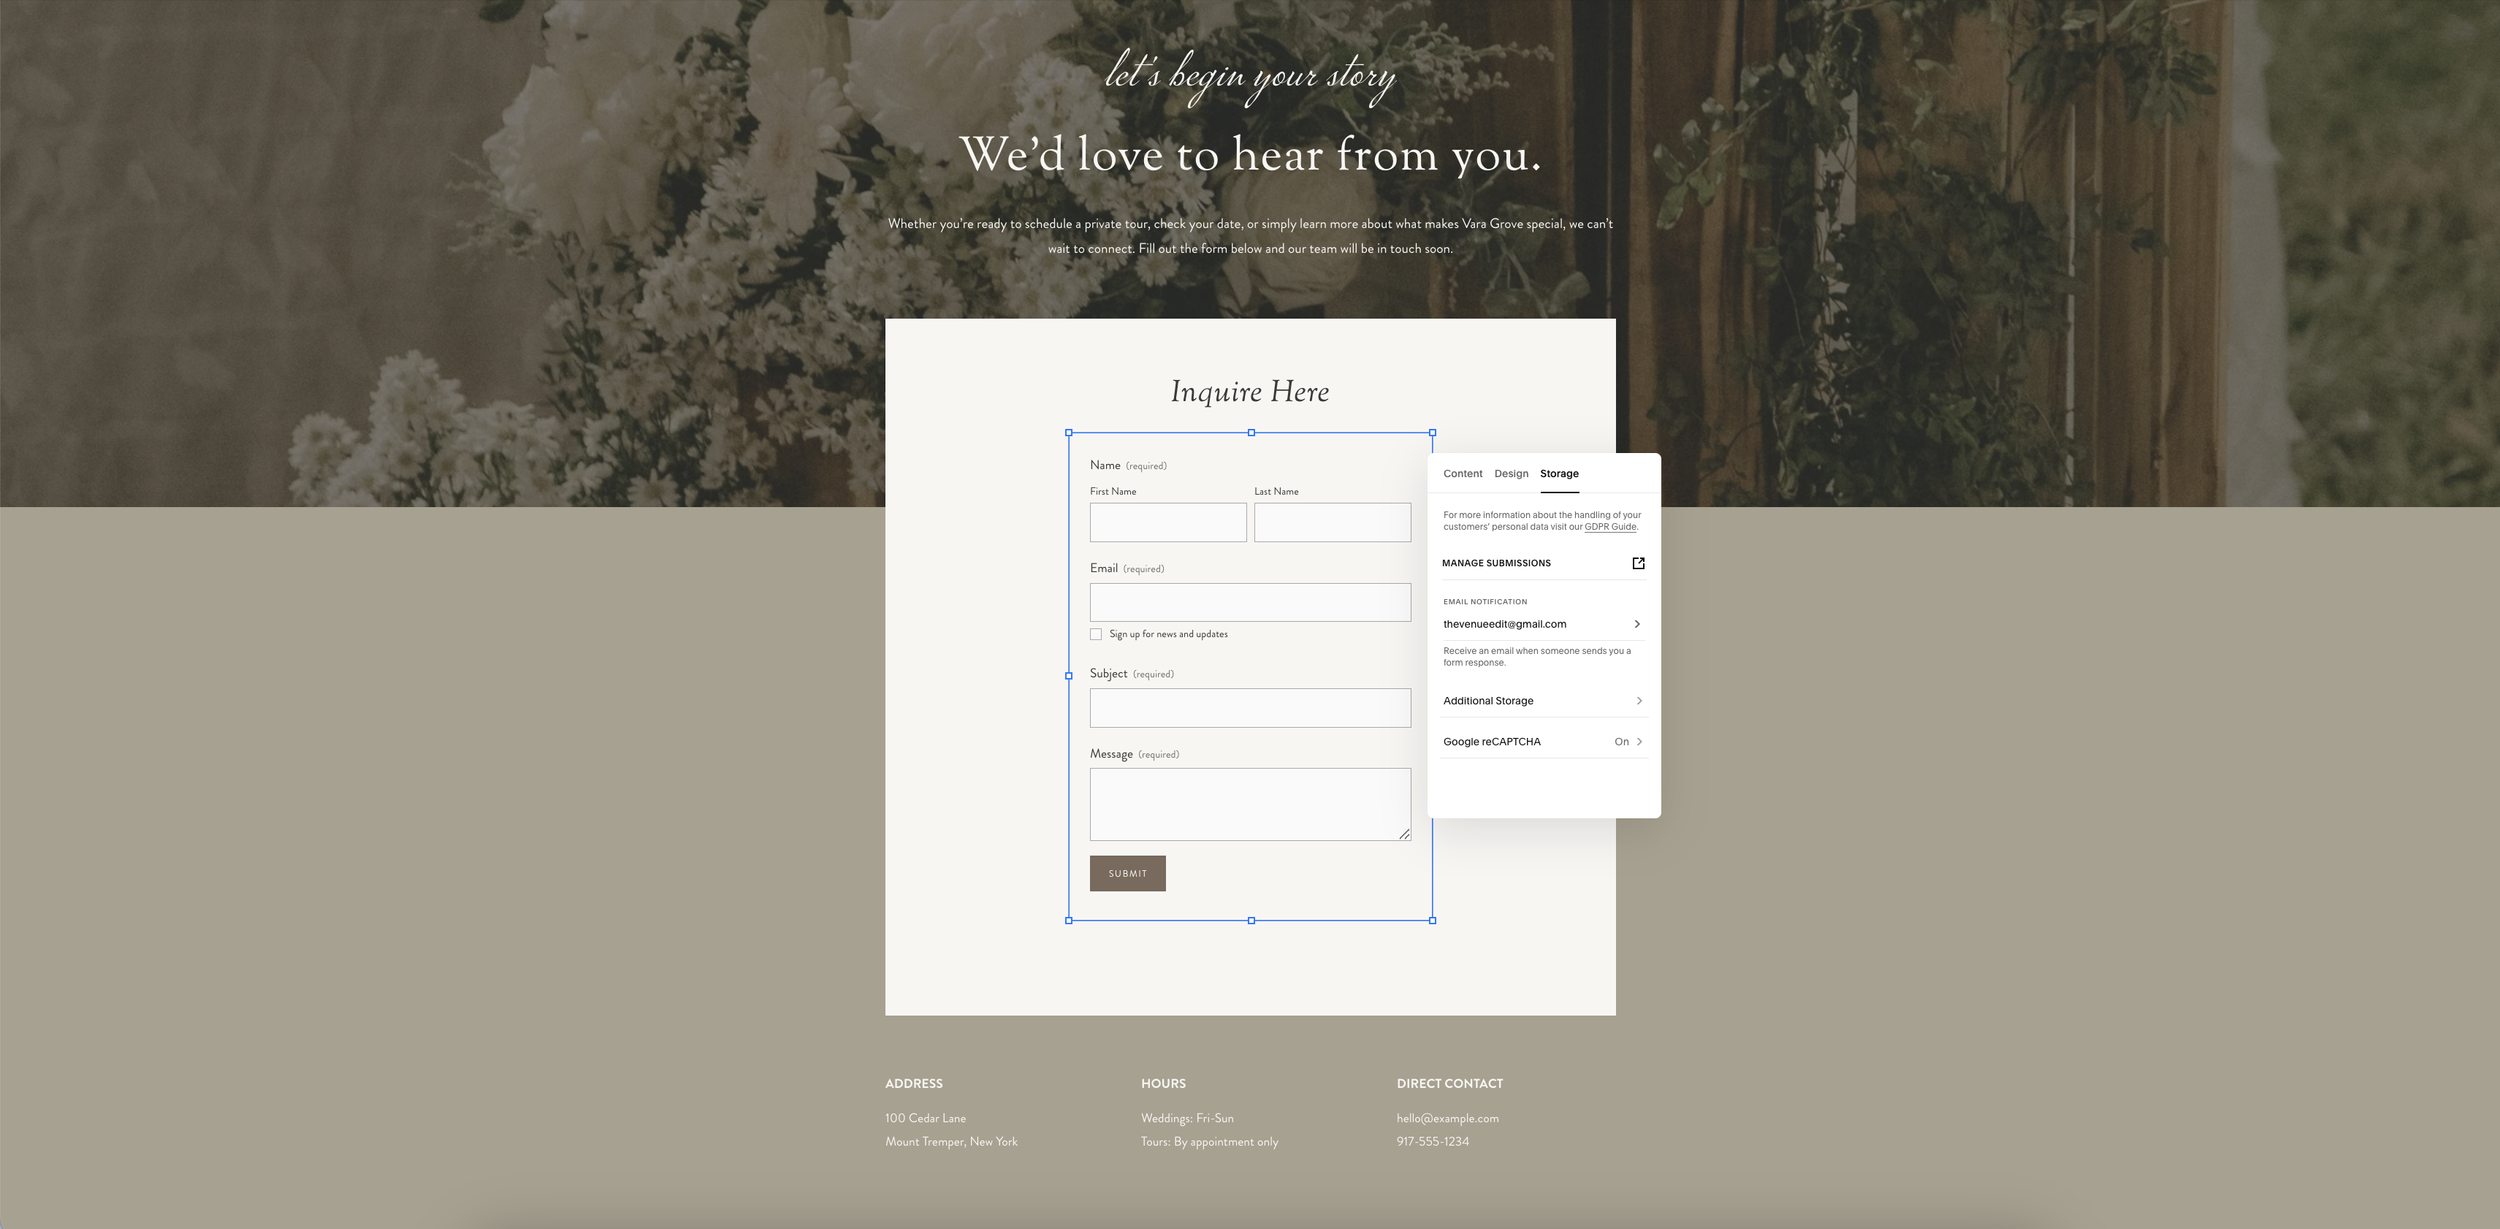
06 Update Contact Forms
This part is so easy to overlook but very important to receive your new inquiries!!
Click on your contact form (or other form)
Update email notification settings under storage
Make sure submissions go to your email or your CRM (Dubsado, HoneyBook, etc.)
07 Update Your SEO Settings
Search engines matter — and Squarespace makes this easy.
For each page:
Click the gear icon
Select SEO
Update the page title + description
Remove placeholder/demo text
08 Connect Socials + Your Domain
Add social links in Settings
Connect your domain so your site goes live on your URL
If your template has an IG gallery, connect the feed
08 Test It Like a Client
Open your site on desktop and mobile and click every button:
Does the menu work?
Do all of your buttons go to the right links?
Do forms submit?
Does anything feel confusing?
Double check these before you launch! Send it to a friend or family member and have them test it out as well if you need to, an outside perspective can be super helpful!
09 Publish + Celebrate
Hit Publish and show off your upgraded brand:
Announce it on Instagram
Update your link in bio
Add it to your email signature
Tell the world you’re officially live
Now, as promised…
The ADHD-Friendly Checklist:
Pick your template → buy → wait for transfer email
Accept transfer → open your new site
Upload logo + brand colors + fonts
Swap demo images → delete demo assets
Optimize your photos + upload them
Clean navigation → rename/hide pages
Add your content (one page at a time)
Update forms → make sure submissions go to your email
Update SEO settings on each page
Connect socials + domain
Test everything on desktop + mobile
Publish → celebrate → update links everywhere